When developing an HMI/SCADA application, sometimes you may not have access to data sources (i.e. PLC, sensors) however, you still have the need to test your io datapoint connections. In this blog post, I will quickly show you how to set up a WinCC OA Simulator Object. The simulators generate different curve shapes and can, for example, send values for testing purposes instead of a PLC.
Step 1
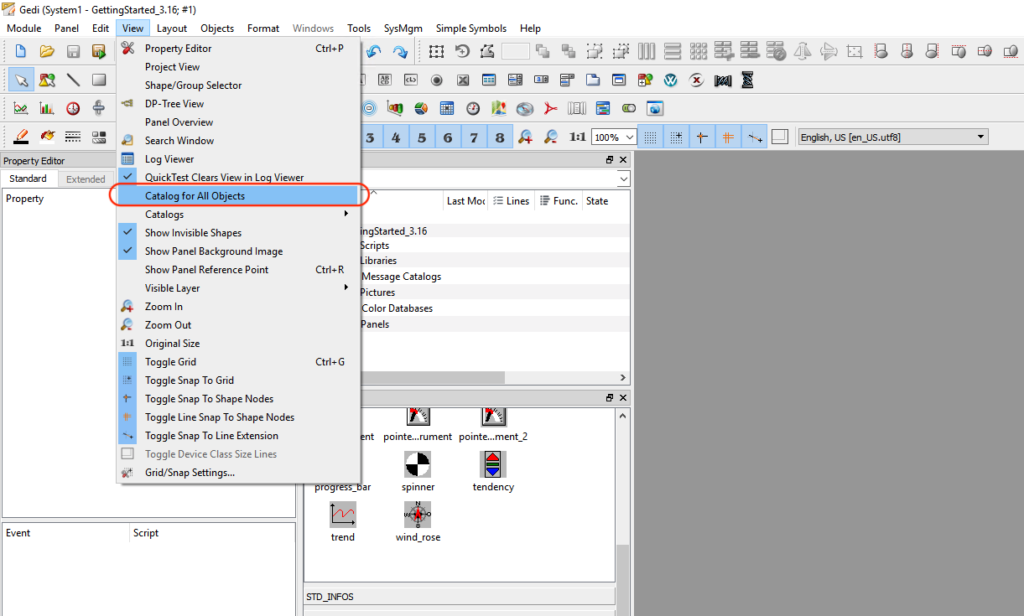
In the Graphical Editor (GEDI), make sure “Catalog for All Objects” is selected. This will add a panel with a bunch of pre-built objects.
Step 2
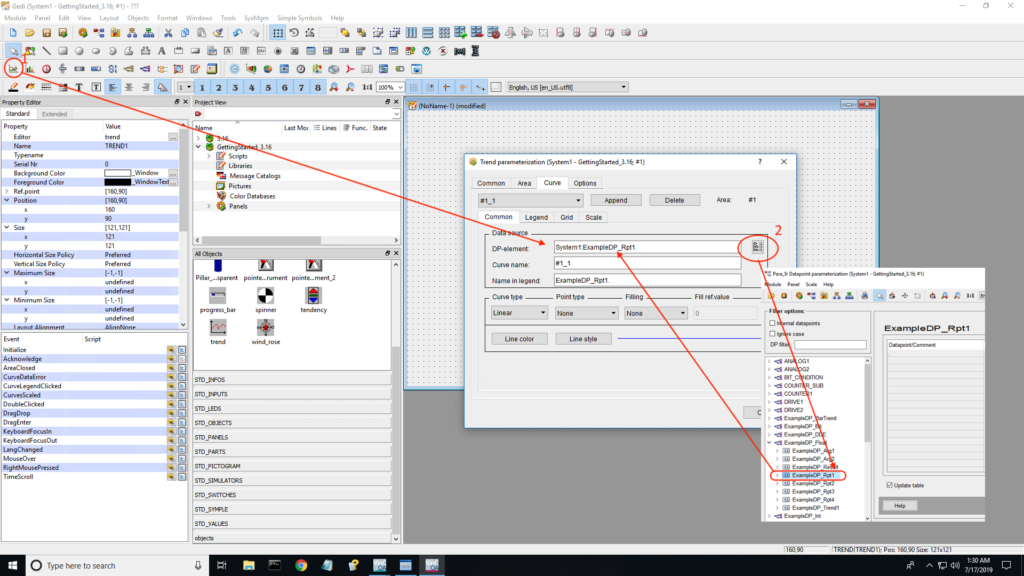
Create or use an existing panel and select the data point you would like to simulate. In this example, I created a new panel, added a trend widget, and selected the datapoint that I wanted to simulate.
Step 3
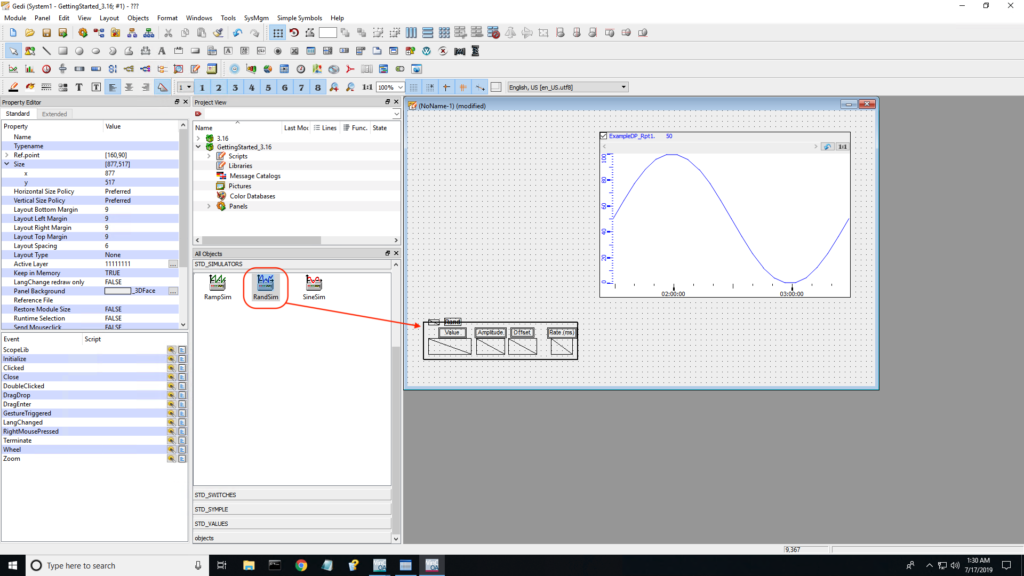
Navigate to “STD_SIMULATORS” located in your catalog of objects. Select the “RandSim” simulation object and add it to your panel.
Step 4
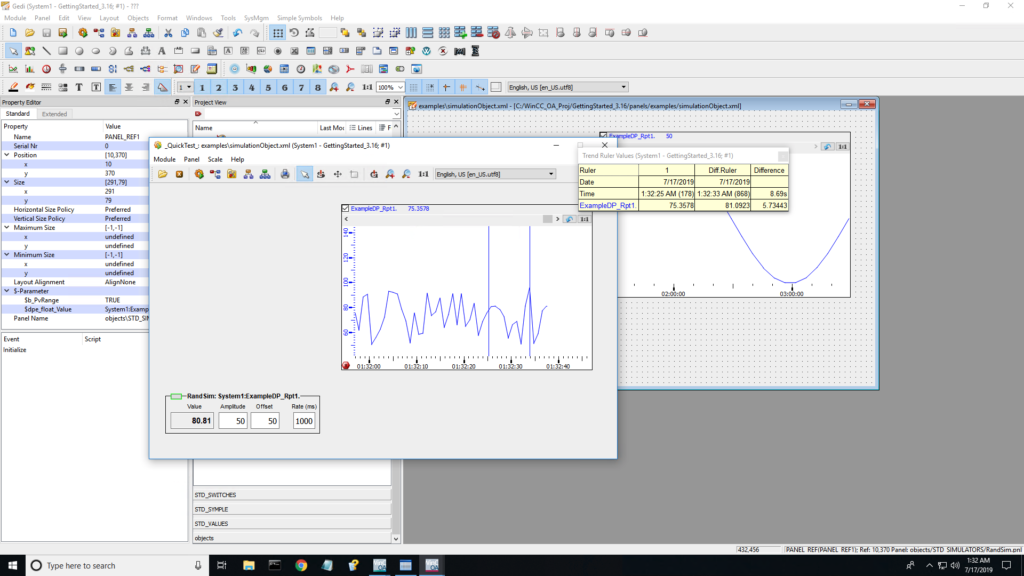
Save the panel and quick test.
This is a simple exercise to help with awareness of the simulator tools. Learn more about the simulator objects via the WinCC OA online help chapter Graphics editor (GEDI) > STD_symbols > STD_SIMULATORS.