Inside of WinCC OA version 3.17, Git will be natively supported, however, with a little bit of work, you can leverage it with version release 3.16. In this post, I will go through the required steps to add Git to your project along with a panel (available for download – see link below) that will be needed to finish the integration.
Prerequisite
Make sure you have Git installed on your development PC. You can download Git @ https://git-scm.com/downloads. For help installing Git onto your development PC, check out knowledge base article: DevOps: Install Git on Windows 10
About WinCC OA
SIMATIC WinCC OA (OA) is a powerful, flexible and diverse SCADA/HMI/MES/IIoT platform used to control and monitor industrial applications. The object-oriented platform is able to handle network complexity with ease, allowing for anywhere from 2 to 2,048 distributed control systems to be connected on a single network. Highly customizable, each individual system can be calibrated as a redundant or non-redundant, single, or multi-user system. The software supports a number of communications protocols that include but not limited to Siemens, Rockwell, Schneider Electric, OPC/OPC UA Standards, MQTT, Web Services, and allows for customized distributions and branding, making it a great platform for software OEMs in addition to end-users.
About Git
Git is a DevOps Open Source Distributed Version Control System.
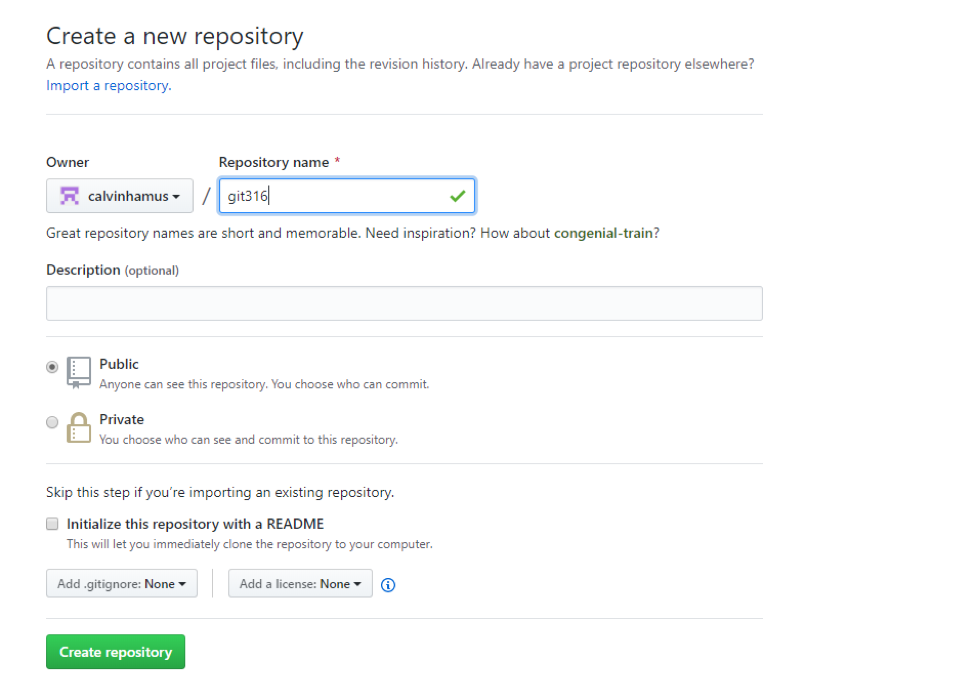
Step 1
Create a repository in a hosted area, I’m using GitHub for this example.
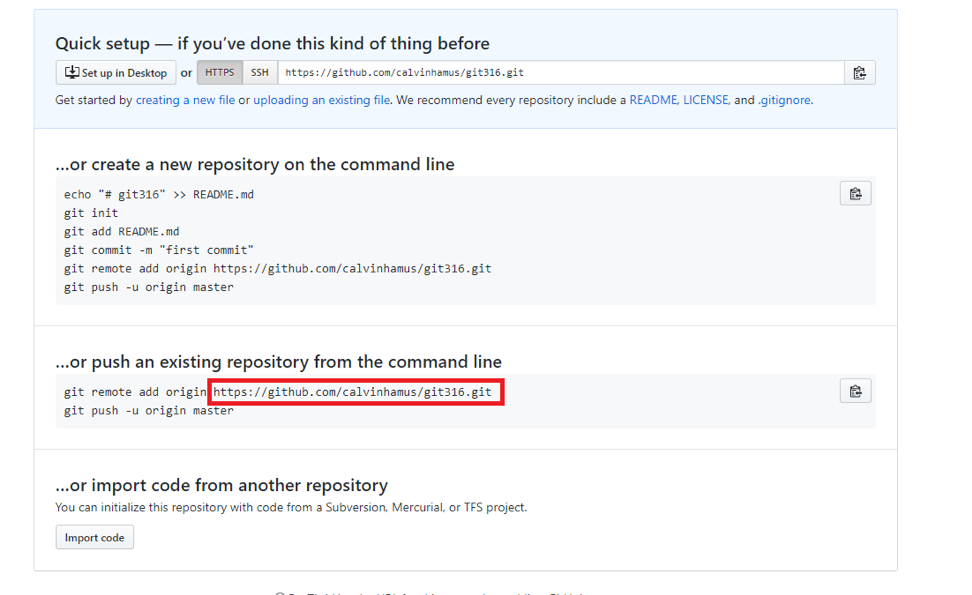
Step 2
After the repository has been created copy the link that looks like the one that is highlighted and store it somewhere for later.
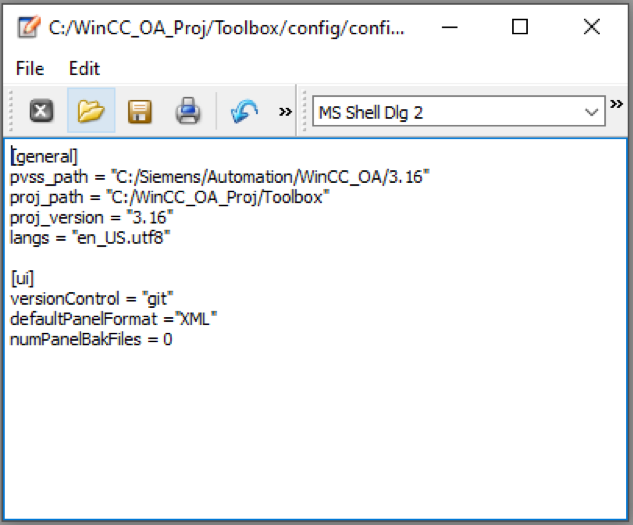
Step 3
Open an existing WinCC OA project or create a new one. Then in the config file add following lines:
[ui]
versionControl = “git”
defaultPanelFormat = “XML”
numPanelBakFiles = 0
Step 4
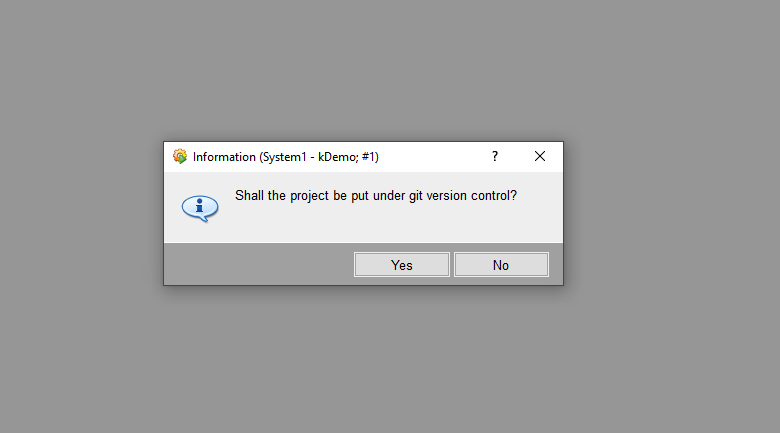
Restart the OA project so that the system sees the configuration changes. OA will then run the -git init command in the background to get everything ready. Once the system has restarted and you launch GEDI you will be prompted with two WinCC OA notifications:
Click “Yes” so that your project will be put under Git version control.
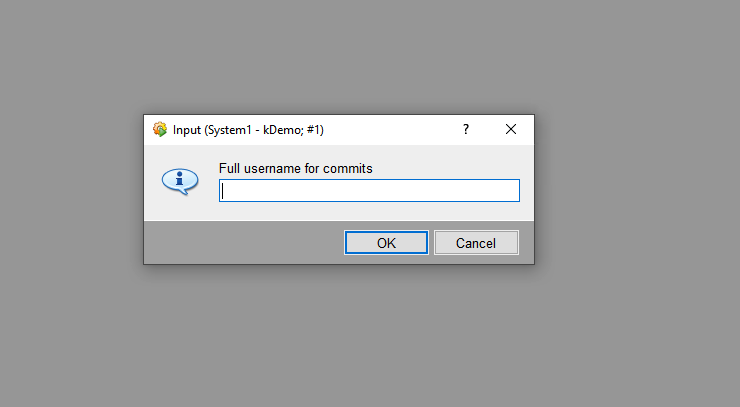
Then, enter your repository username for commits.
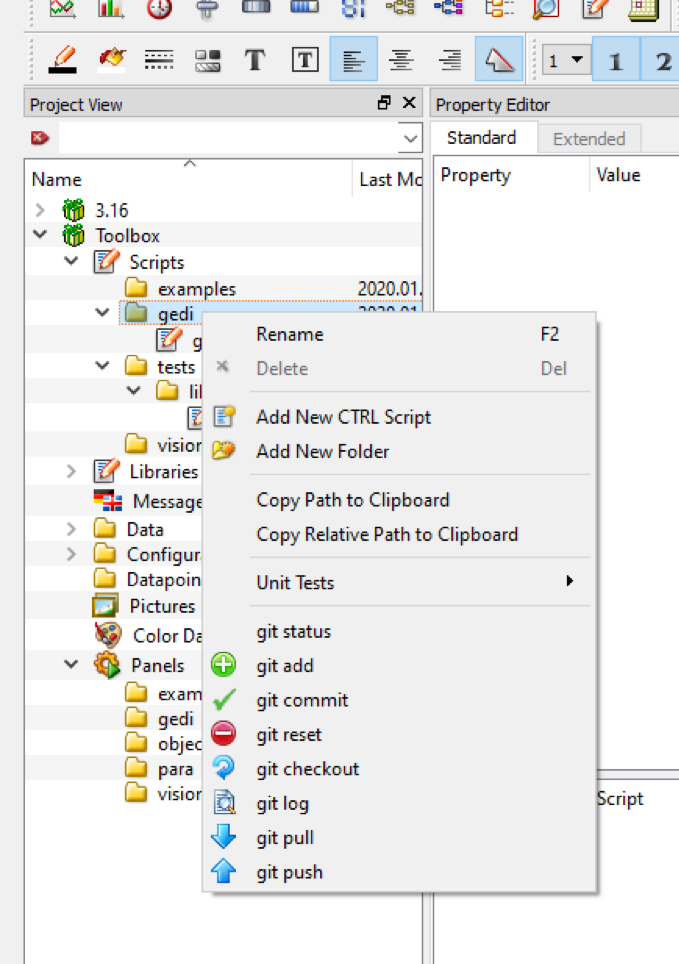
After you’ve completed this when you right-click a panel or a script it will have the below options. Before you click any of the options we have to register the project to the repo we created earlier.
Step 5
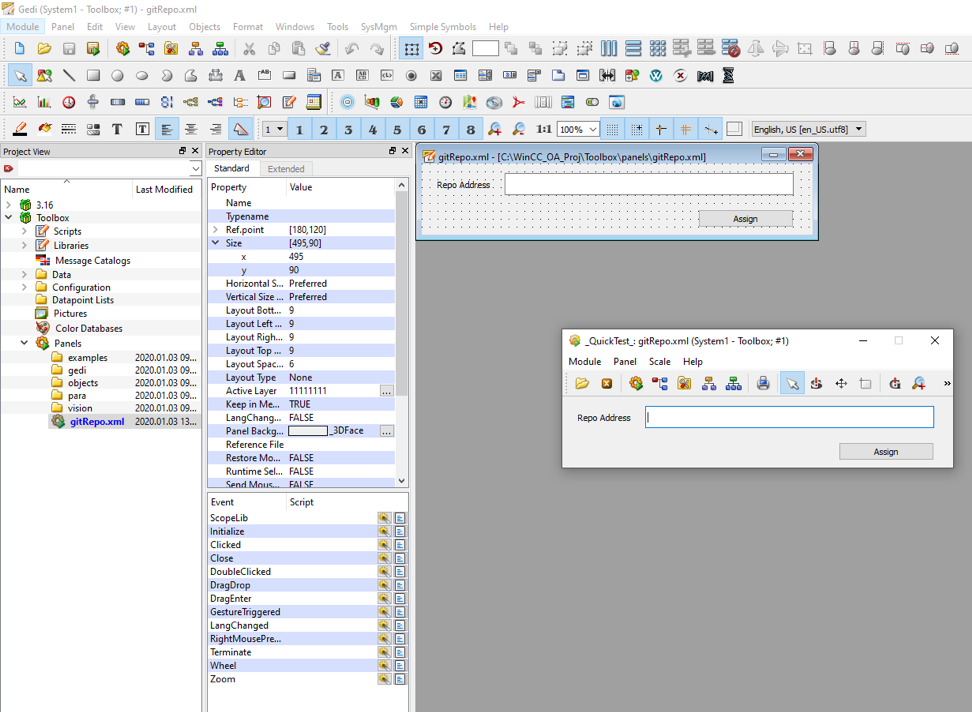
Download the attached panel file, gitRepo.xml, then open and Quick Test with it.
Step 6
When you are in quick test mode, paste the URL you saved earlier in the text field and hit the Assign button.
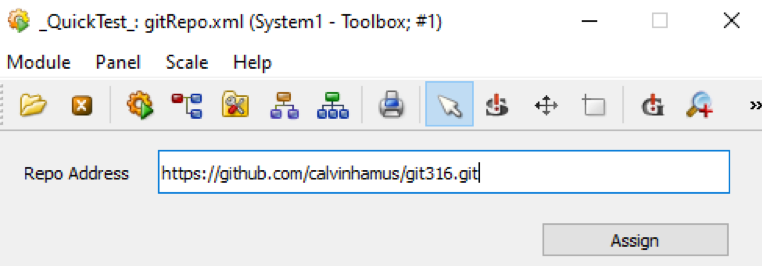
We have now just connected our WinCC OA 3.16 project to a GitHub repository that we can now utilize all the power that the Git platform provides us.
Hi, Calvin
Is it possible to integrate SVN into WinCC OA?
Dawei,
Yes it is, the process is a little bit different and fairly involved so I won’t be able to detail it out in this comment. Just search SVN in the WinCC OA help files and you will be able to find the entire process.
Thank you