
In the IT world, you would NEVER, EVER, EVER make edits to a production system without going through the proper development quality assurance procedures. In the industrial world for some reason, it is acceptable to not test in isolated development environments for issues or changes in a production runtime system. There are many reasons for this…time, availability of tools, “know-how” etc. With the IT and OT worlds converging at an exponential pace, we want to help our industry adopt DevOps practices by showing the tools that are available now. DevOps tools can be leveraged in modern industrial data management software packages like WinCC Open Architecture.
Read More
Over the past few weeks, we have been showing how to use the DevOps practices and tools inside of WinCC OA. Today we will take one big step further and integrate Jenkins into the development process. This tutorial expects you tot have a few things and understand a few others:
Read More
As the role of DevOps becomes more and more prevalent in the world of automation and industrial SCADA/MES/IIoT software, one of the first steps that should be taken into consideration is setting up different levels of environments for your developers to utilize.
Read More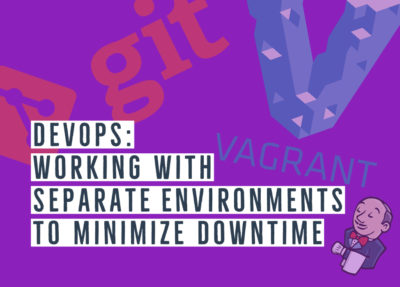
As the role of DevOps becomes more and more prevalent in the world of automation and industrial SCADA/MES/IIoT software, one of the first steps that should be taken into consideration is setting up different levels of environments for your developers to utilize.
Read More
WinCC Open Architecture (OA) has supported Unit Tests for quite a while now, however, when Siemens released version 3.16, one of the new features was High-Speed Programming. This new feature set included a tool for project documentation and the ability to auto-generate templates for faster creation of code. In this blog, we are going to look deeper at the new way to run and write Unit Tests inside of the graphical editor (GEDI).
Read More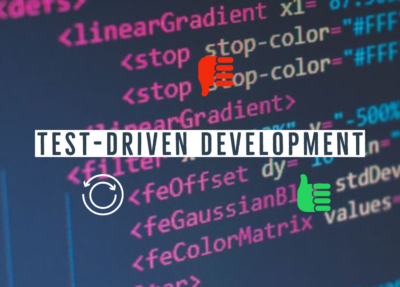
As SCADA, MES and HMI projects become larger, more complicated, and interact with many different systems, the time has come to start thinking about adopting TDD and Unit Tests into your development lifecycle.
Read More